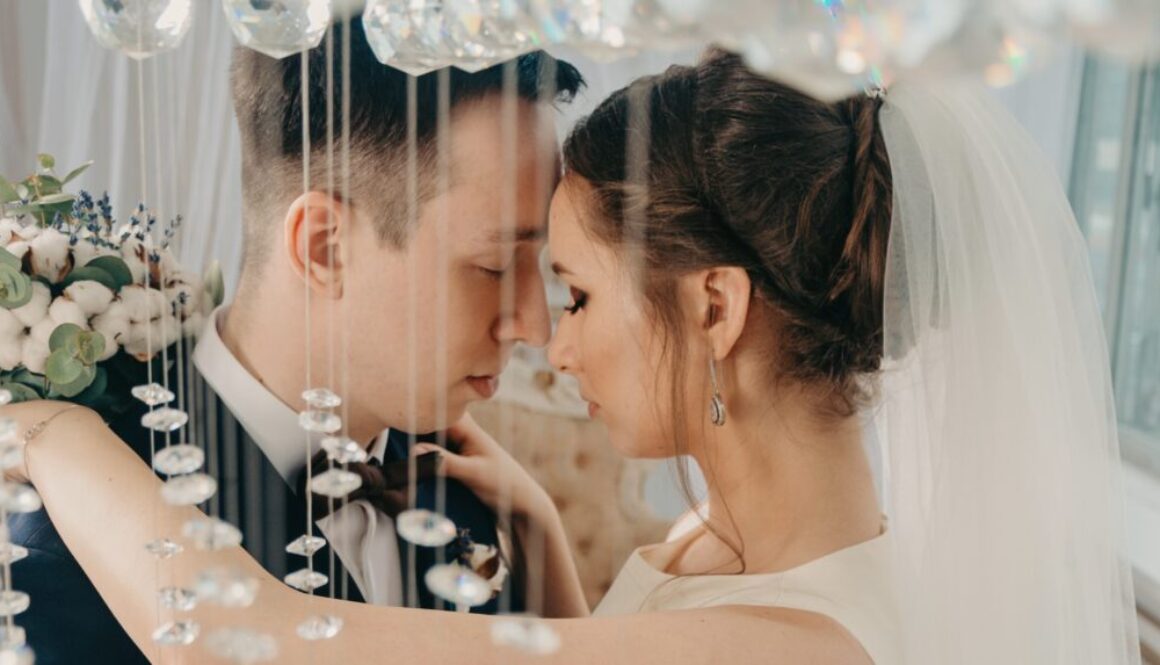
Storing your Beautiful Wedding Photos For a Lifetime

The wedding day always seems to come and go pretty fast, which is why taking photographs is necessary. It doesn’t only help you document those special moments, but it also helps you relive the special day through the photos.
Taking wedding photographs is the first step to capturing those special moments for future purposes. But how do you guarantee that they will last forever? It all boils down to how you store them.
Here are 3 easy ways to store your beautiful wedding photographs.
How to store Wedding Photos in Print
If you prefer to store your wedding photos in prints, here are some ideas for you.
Step 1: Print Them
It’s good to store your photos online. However, it’s also necessary to have physical prints of your wedding photographs.
You never can tell; tomorrow, the internet can come crashing down, and you may lose your precious wedding photos. Or, the platform you used to store your photos may undergo a major upgrade, thus making it difficult to access some of your wedding photos.
After downloading your wedding photographs, select your favorites and request them in print format. When they arrive, you can hang them in different places around the home. Or just store them.
Step 2: Display them in your house
If you want to enjoy the look and feel of your wedding photos in real life and not on a screen, we recommend investing in prints.
You can also frame the photos and hang them on your wall or put them in photo albums. Sometimes, viewing pictures of a cherished memory on prints hits different compared to when you view it digitally.
How to store your wedding photos online
Aren’t a fan of physical wedding photos? You can turn to digital storage for your needs. Here are tips on how to go about that.
1. Download your photos
Once your photographer sends your wedding photos to you via email, download them onto your MacBook. You can move the photos using the drag and drop feature.
Is the drag and drop not working on your Mac device? You’ll need to fix it to carry on with this step effortlessly. ‘
The drag and drop function helps you move and copy files (which in this case could be your wedding photo gallery) and folders from one location to another. Without this function, you may struggle to arrange or move your files.
2. Select right resolution
Next, select a resolution. The larger the resolution, the more space the photos will consume. We advise downloading the photos in the original format, highest resolution, and lower resolution (aka web).
3. Choose the right website.
After arranging your wedding photos, you’ll have to store them digitally. There are multiple online storage platforms to select from. They help safeguard your photos and make accessing them easy regardless of location.
However, before uploading your photos to any of the storage platforms, ensure you do your due diligence to determine which is best for you.
Popular storage platforms available are:
● Dropbox
● Google photos
● iCloud
● pCloud
● Flickr
Conclusion
How you store your wedding photographs will determine if they last for a few years or a very long time— enough to share with your grand or great-grandchildren.
So, be careful how you store your photos after receiving them. As a rule of thumb, try to have digital and physical copies. And ensure you store the physical copies safely, away from sunlight and liquids.

